Introduction
To build this model, we first recommend completing Flat Models 1 and 2 and the 3D Dodecahedron model to gain some experience working with the method.
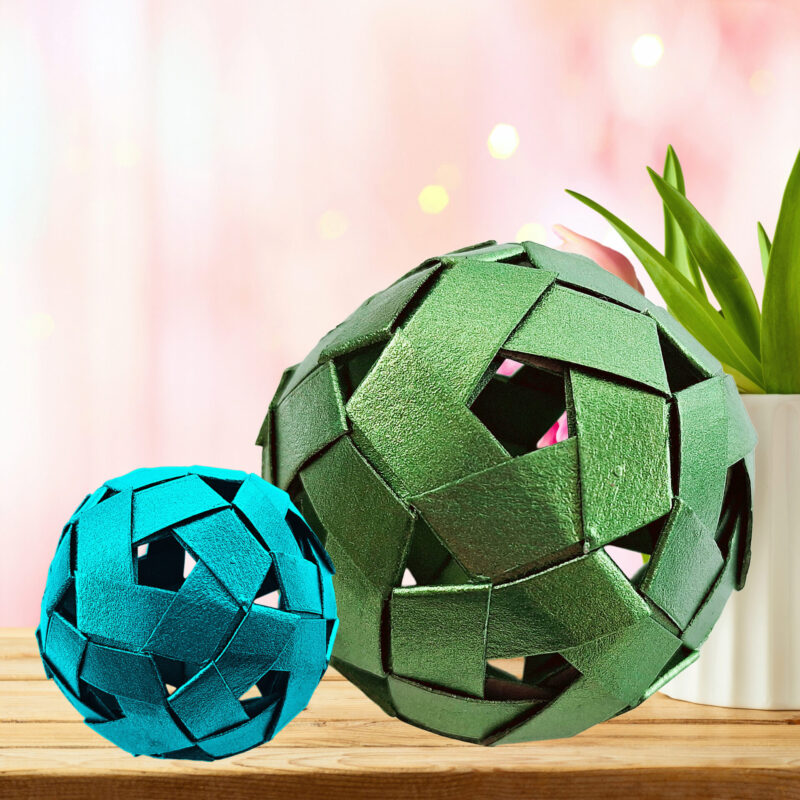
In this project, you will learn how to build an Icosidodecahedron model using recycled materials such as toilet paper or paper towel rolls and tissue paper boxes for larger models.
Understanding this structure will help us determine how many identical pieces we need to cut and how they connect to form the final model. Let’s get started!
 Project Materials
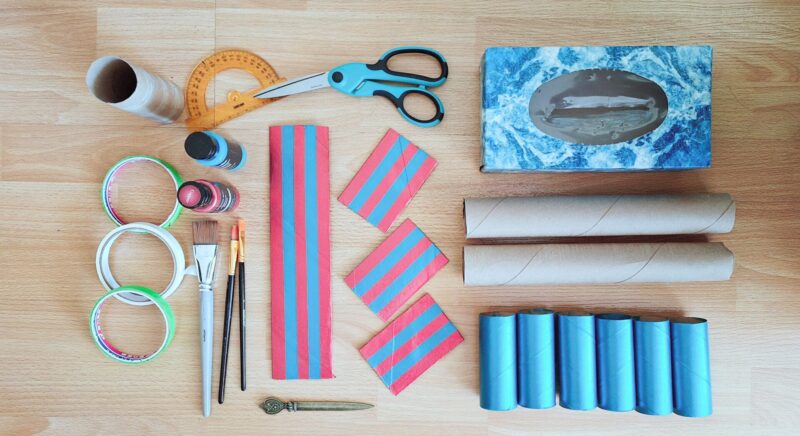
To build a Dodecahedron or Icosidodecahedron model, 30 individual pieces are required per single model. The number of pieces each type of material may produce can vary slightly. This will require a bit of experimentation, but this is the ballpark from our experience:
- 6 Toilet paper rolls
- Each roll typically produces 5–6 individual pieces.
- 2 Paper towel rolls
- Each roll is about three times as long as toilet paper roll and can yield around 18 pieces.
- 3-4 Tissue paper boxes
- Used for larger models.
- Pieces can be cut from either the top (wider) section or side (narrower) panels.
- Each box may produce 8–10 pieces depending on the section used.
Tools and Supplies
- Required
- Protractor, Pencil, and Ruler
- Large Sharp Scissors able to cut thick carton
- Recommended
- Guillotine Paper Cutter for the best experience and straight, sharp edges
- Scoring/Creasing tool or Letter opener (tip of a nail file works great as well, this is optional but we prefer scoring as it does not leave any pencil marks)
- Electric Iron with steamer (very helpful for flattening, plus it takes care of any hygiene concerns regarding working with toilet paper rolls)
- Metallic Acrylic Paint and Paint Brushes
- Masking Tape (required for multi color versions)
- Non-stick parchment paper (if ironing already painted paper rolls to protect the paint and the iron)
Create Individual Units
- Paint Paper rolls first (Optional)
- It’s easier to paint the rolls while they’re still round.
- Allow fully dry before continuing to the next step.
- You may need multiple coats, let each coat fully dry before applying the next coat.
- Flatten the Rolls
- Press each roll flat by hand or use warm iron
- If you’re using an iron, cover the painted roll with a piece of non-stick parchment paper to protect the paint and the iron.
- Measure & Cut
- Place flattened paper roll on your workin surface horisontally
- Using a protractor, mark a 72° angle from the top right corner of the flattened roll, then mark the angled line using pencil or a scoring tool.
- Measure the the angled line and divide it by 5 to calculate the width of individual piece. The width of the piece equials 1/5 of the length, minus a mm or so for some wiggle room.
- Mark the width of the individual peices on the top and bottom edges of the papaer roll and use a pencil or a scoring tool to connect the marks for the rest of the pieces.
- Repeat for all paper rolls until you have marked 30 identical pieces.
- Cut the pieces using scisors or guilliotine paper cutter for clearner look and straight edges.
Assemble the Model
The assembly of this 3D model is similar to Flat Model 2, with the difference that this model begins by assembling 5 pieces into a pentagon shape. Watch the Assembly Process Video.
Summary and next steps
Now that you’ve completed the model, why not try our other recycled paper or DIY Coloring Pattern projects! We’d love to see what you create! Tag @Geomegic on social media to share your work and connect with others in the community.
